NEST Server Project requires NEST user application for testing.
- Configure the Server Host by opening the user application project’s project.config file.
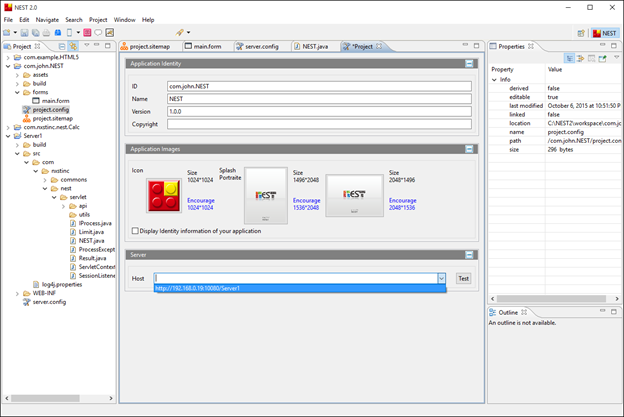
If the NEST server project was created correctly, then it will appear on the NEST user application combo box located on the its project.config file.
- The URL that will be used to test the NEST user application can be selected or inserted on the user application’s project.config file.
- Add or select a blank Form to add a component new or old.

- After adding a component, you can set its events by the following methods. Component events can be set on the WorkFlow tab or through its properties and Event menu.

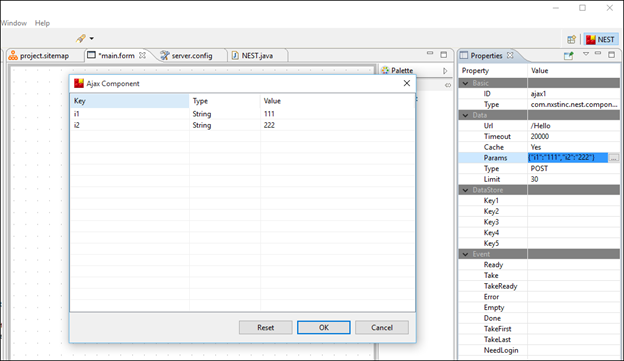
- Ajax component utilizes URL and so the server URL must be provided.

- The Ajax components Params can be manually inserted or select an automatically generated value which can be found on a window that appears by clicking the Value cell.
- Data flow can be configured through the following methods. After selecting the DataFlow and Listview component, the Properties of the Data Store can be configured.

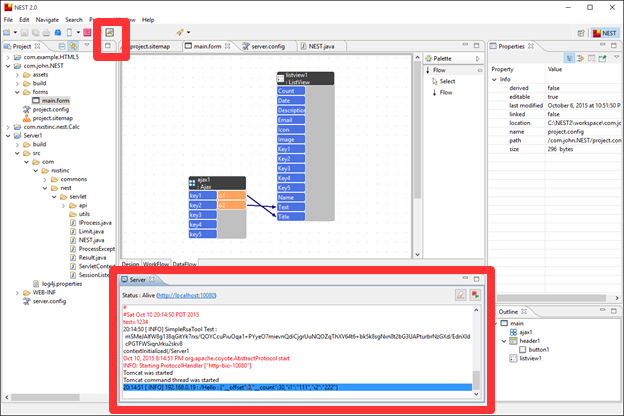
- Now all the testing preparations are completed, run the Simulator and check if the control is binding well.
If data transmission is not occurring, first check for an error on the server component using the Server Monitor.
If you would like to obtain a more precise view of this environment check the log library of System.out and Log4j.